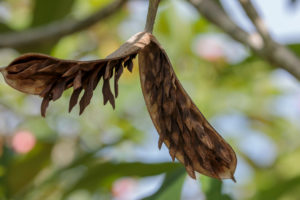
Plumeria Seed Pods

Plumeria seeds form when a flower is pollinated either by the wind (self pollination) or by an animal, hummingbird, butterfly, thrip, sphinx moth, tiny ants or by human. Once pollinated, plumeria flowers will fade and begin to grow into seed pods. Plumeria seed pods grow from flowers pollinated during the previous growth season. A single pod may contain from 25 to 60 seeds and usually grow in pairs. When the seed pod is growing you can wrap it loosely in cheesecloth to catch the seeds when it splits open. Do not wrap it so tightly that you block the circulation of fresh air.

Plumeria seed pods take about 9 months to mature. After they mature they will crack open and the seeds will be disbursed by the wind. If you harvest before they are ready, the seeds won’t have a chance to mature properly and most likely will not be viable. 

Collecting Seed pods

Seed pods look like two long beans. They can be green or light brown to dark brown. Different cultivars will product different looking and sizes. From the time they start growing to the end of their growth, they may reach 12 inches long or more. Seed pods will continue to grow over winter storage while their plumeria is in dormancy. So watch them during the winter, the growth is slower, but they could still open if they mature during winter storage. 

Open Seed PodThornton's Lemon Drop Plumeria Seed Pod

When the pod start to discolor and look like they are dying, they are getting ready to open. When you see the seam along the seed pod start to crack, it’s time to cover. A netting material or stocking is good to cover the seed pod and capture the seeds. The netting will allow them to continue to receive water and sunlight through the openings. Place the netting or stocking over the seed pod giving it plenty of room to breath and open fully.

Most plumeria seed pods open during the spring, but the seed pods will open all year long, depending on when the bloom was pollinated. Once they have opened, your cover will catch the seedlings. It is ok, to pick the pod if it has started cracking open. Place in a cool dry place and it will fully open in a few day. After it opens allow the seeds to dry out for a few days. Moisture can cause bacteria or fungus to grow.

After they have dried you may either store them in a dry dark place or plant the seeds. Some plumerias are great seed pod producers, some may only produce a few a year while other may never or very seldom produce seed pods. Some seed will do better if you plant right away. Seed Pods have been know to stay viable for 10 or more years, but the average is more like 3 years. Regardless the seeds germination rate will decrease over time.

Related Images:

Plumeria Seed Pods

A Guide to Growing Plumeria From Seed

I’ve been using FlexiPlugs by Grow-Tech for the last four years to germinate seeds and grow seedlings for the first phase of root growing, with very good results results. I would like to share my experience with this Guide. Click on this linke to find out more about how I use them. My methods may need to adjusted to your growing environment. https://plumeriaseeds.com/guide-growing-plumeria-seed/

Related Images:

A Guide to Growing Plumeria From Seed

Germinating and Caring for Plumeria Seeds and Seedlings

Plumeria Seeds

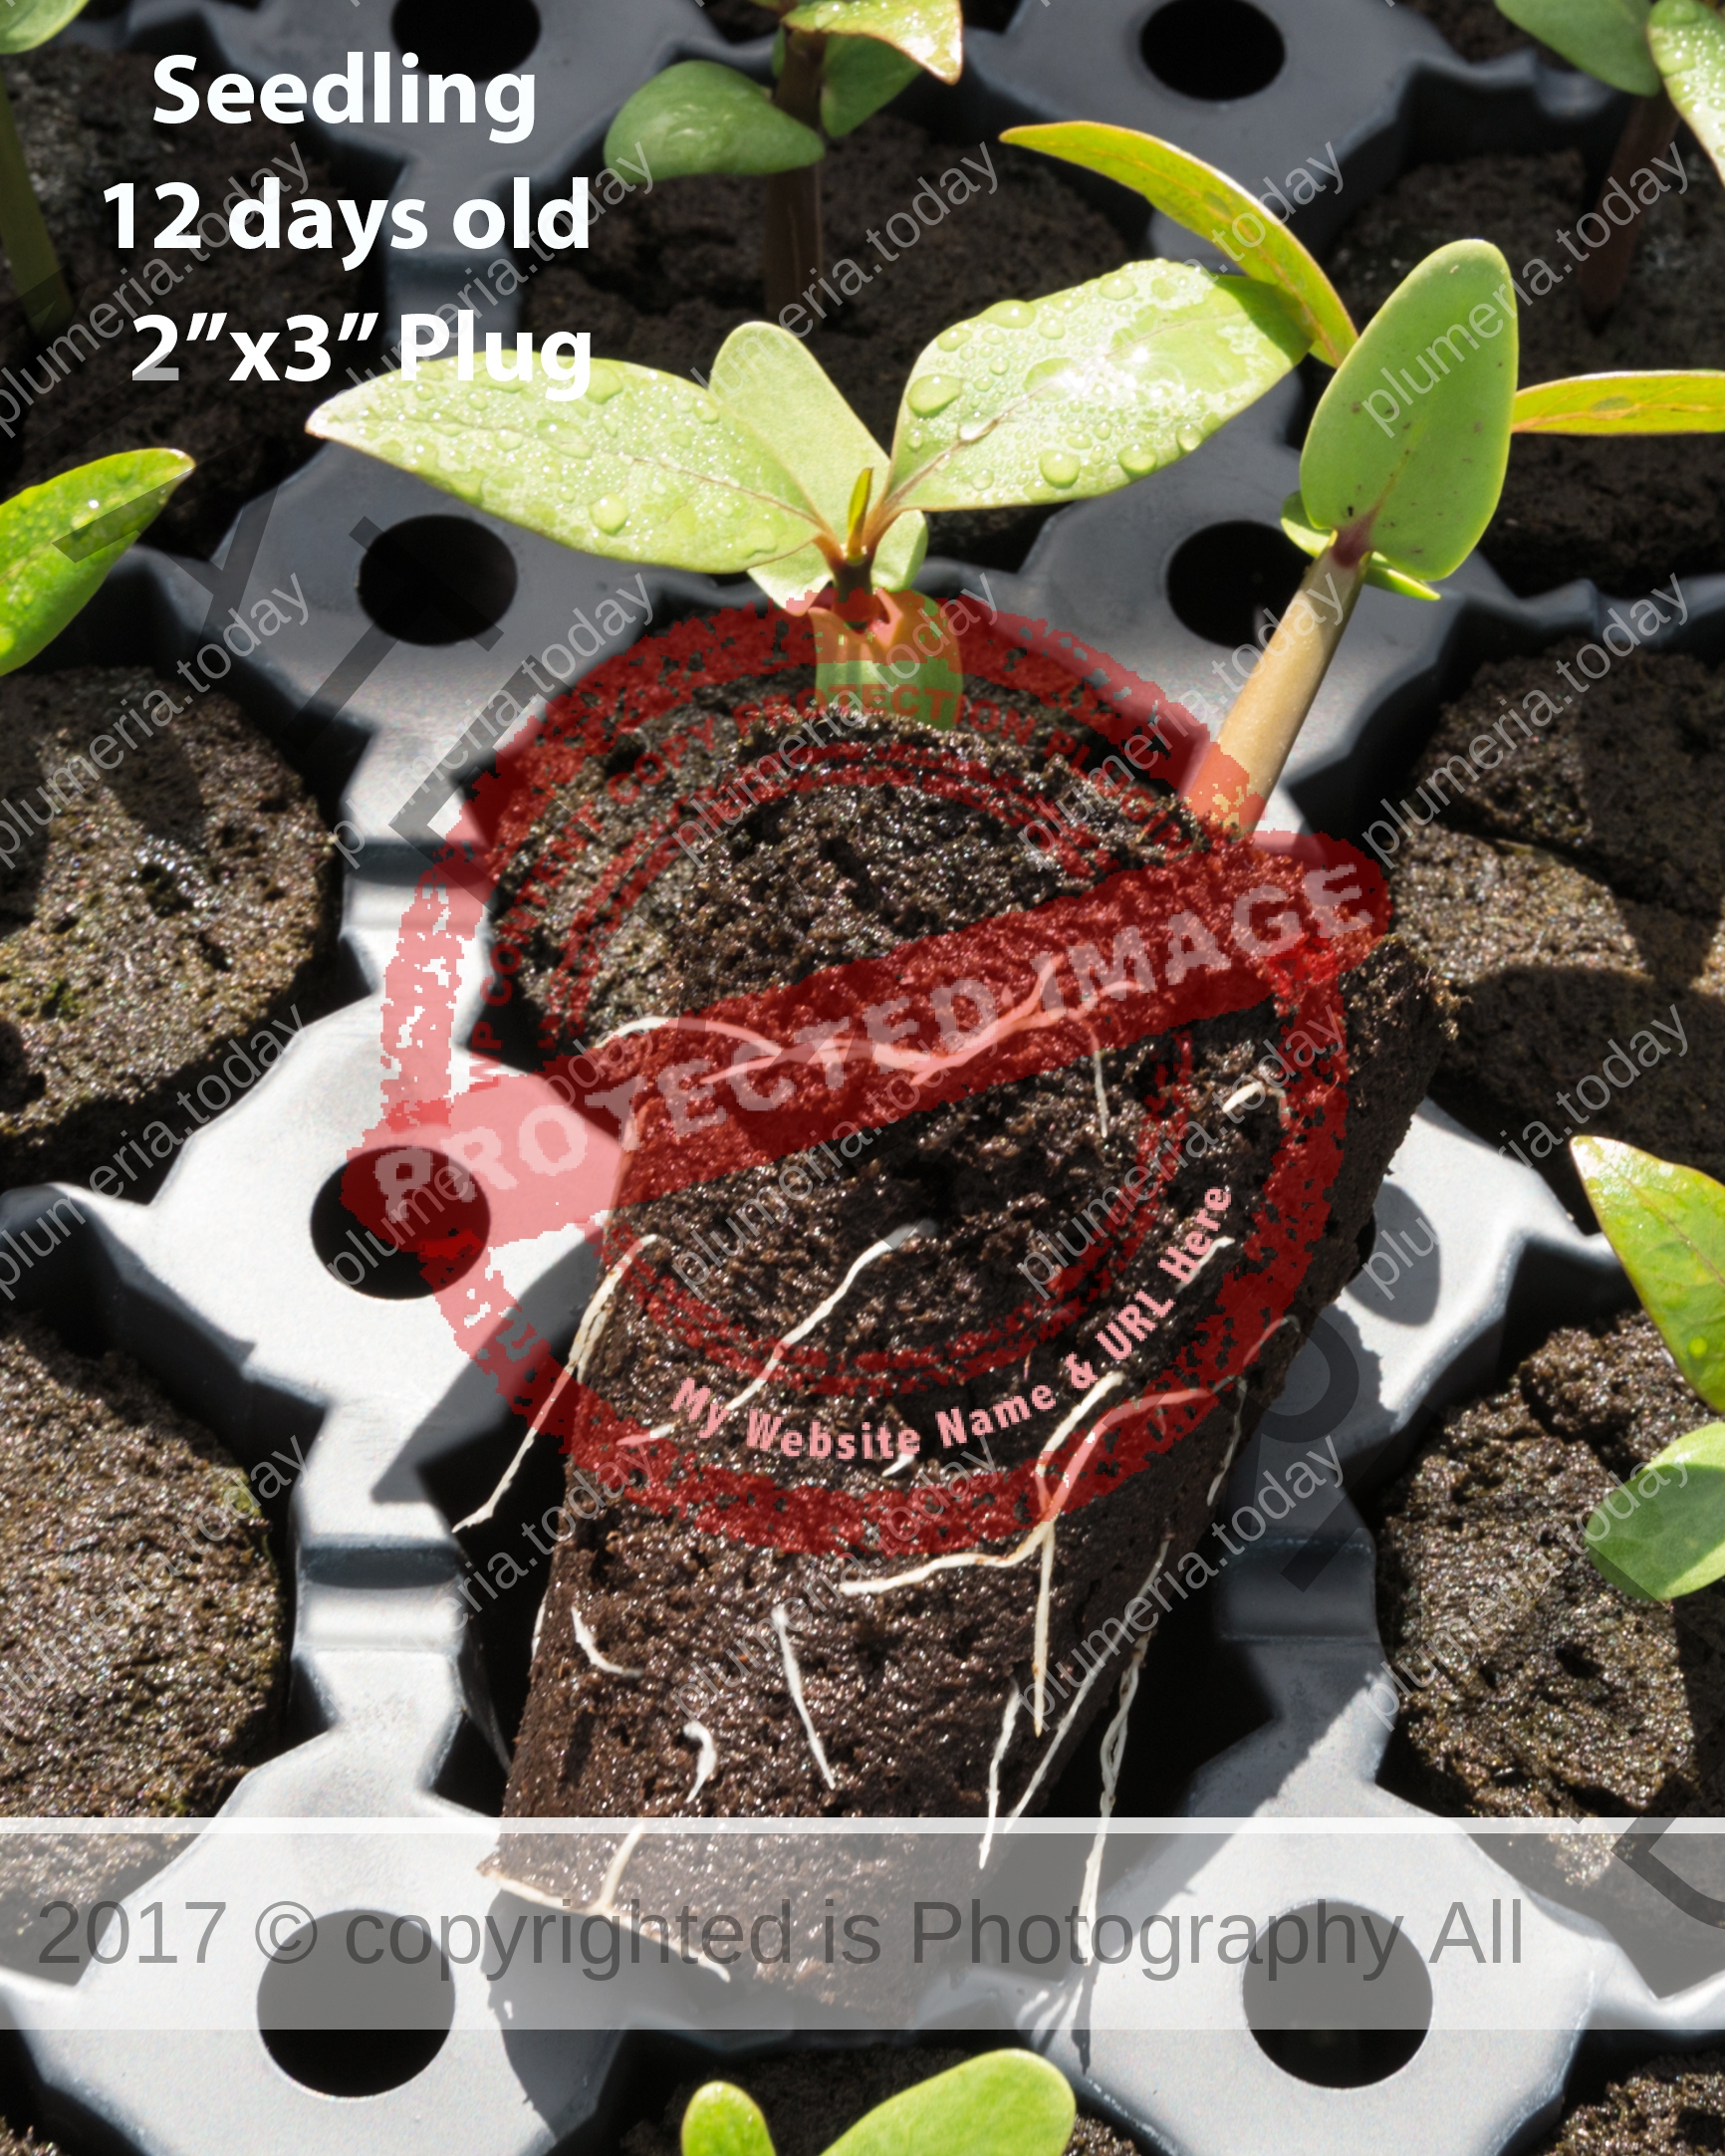
When germinating plumeria seeds at home or in a greenhouse, the first thing to remember is plumeria seeds may be started indoors, but should be transplanted and moved to a location that provides plenty of light as soon as it has 3 or 4 real leaves. Leaving a seedling in small containers may result in disrupted growth, which can lead to unfavorable results. However, starting plumeria indoors is a great way to get an early jump on the outdoor growing season. When choosing a medium in which to germinate plumeria seeds, look for one that says something along the lines of, “seed starting mix.” This type of growing medium will likely have a moderate elemental fertilizer charge, which will benefit the newly sprouted seedlings. Seeds can be germinated in many different styles of trays and containers, so choose the type that best fits your space needs. If starting just a few seeds, a simple, flat starting tray or small individual containers will work great. When planting many seeds at once, it may be wise to use trays that are divided into separate growing chambers. This will cut down on the amount of transplanting needed as the plants grow. Remember, all a plumeria seed needs to germinate is warm temperatures and moisture. Some growers do use heat pads underneath the starting trays. Most plumeria seeds will germinate at temperatures between 65-90 degrees Fahrenheit and the added warmth in the growing medium can speed up the germination process. Using supplemental lighting, like a T5 fluorescent bulb, can also help provide extra heat. Though seeds may not need light in order to germinate, the seedling will need light, so having a light source ready is a good idea. I would use caution when starting seeds in a bright window sill because direct sunlight through glass can alter the intensity and the seedlings may stretch and become ‘leggy.’ (There are many good plumeria seed germination methods, I suggest you research each one and use the one or ones that fit you situation.)

When preparing to germinate seeds indoors it is a good idea to soak the seeds overnight or at least 4 hours in a warm place. Also moistening the growing medium before planting any seeds. This will help to ensure that the medium is not over saturated or water logged and that the moisture is spread evenly throughout. Using a tray, spread the seeds so they have about an inch between each, this will help minimize the root damage when transplanting.  I have found using plugs is much easier to handle and preserves the roots when transplanting. There are many good planting methods and you should examine each to see which fits your situation and may help result in higher germination rates. If planting is occurring in a flat starting tray, space seeds at least an inch apart, either in rows or in a grid pattern and cover lightly with 1/4″ of growing medium (remember oxygen is important during germination, so don’t pack the medium down to much). Then, spray the entire tray lightly with a hand held mister. The soil should be kept moist not wet long enough for the seeds to germinate, it may need to be sprayed with the mister occasionally to maintain even distribution of moisture. Some growers use starting trays that have plastic, hood-type lids. This will keep the humidity around the seeds at higher than average room levels and may help increase the chance of successful germination. Be sure to check the seeds daily to maintain an optimal environment.

Environmental Considerations

As the plumeria seedlings begin to pop up through the soil, there are a few environmental aspects that should be given proper attention right away: light intensity, humidity, and air flow. Remember the seeds of different cultivars may germinate in different lengths of time. Usually plumeria seeds will germinate in 5-10 days, but I have seen it take up to 30 days if conditions aren’t right. Plumeria seeds can sprout in total darkness, but, once the seedling breaches the soil, a sufficient light source is imperative. Those first “true leafs” will need a light source to perform photosynthesis and create carbohydrates, which will help sustain both normal plant growth and, most importantly, root growth. Without proper lighting, the early vegetative growth of a plant can be negatively affected and could cause long lasting problems.

Humidity can be helpful during the initial germination process but, as the seedlings begin to grow, high levels of humidity can spell disaster. As internal process burn up the seedlings energy sources, the plants will need to release oxygen as a gas through their stomata (a process called transpiration). As the oxygen leaves the plant, water and elemental nutrients are pulled up through the roots. In a humid environment, the stomata will remain closed and the roots will not take in water. If the growing medium is wet without proper aeration, the water will have nowhere to go and the roots will likely suffocate and die.

Air flow and humidity almost go hand in hand. A nice flow of air through the plants canopy will encourage the flow of carbon dioxide to the leaves and, subsequently, oxygen away from them. This is not just true for seedlings, but for plants in all stages of growth. A small fan on medium or low can help keep humidity levels low and the heat from any supplemental lighting to a minimum. Be sure to keep the rooting medium moist, but not too wet. Seedlings need water and going to long without can result in serious damage. However, if the medium remains too wet for too long it may impair root growth. As the seedlings grow, they will eventually exhaust any nutrient charge that the growing medium had to offer, so light fertilization may be needed while waiting to transplant into a different container.

As the seedlings grow, with proper care and attention, they inch closer and closer to fulfilling their own unique destiny. Every plumeria seeds has it’s own DNA structure and will not be exactly like any other. As we stand by, eagerly awaiting the flowers of our labor, it is important to remember that every plumeria we grow has entered into this life as a small, almost insignificant looking thing, that so many refer to as simply, just a seed.

Related Images:

Water Rooting vs Soil Rooting Plumeria

Rooting Cutting, is there a right way?

Is rooting in water the best way for Plumeria?

Although people have been rooting plumeria in water with some success, this is not the best way to root your plumeria. The roots that form in water are not the same as roots that form in the soil. They are fragile and brittle, adapted to growing in water as opposed to soil. Once you transfer a water-rooted plant to the soil, many of these roots will break off immediately and the rest will shrivel and die up as they’re replaced by the more robust roots adapted to the soil.

If you do water root, Just remember once a plant is in water, it will develop “water roots” and feed itself with water nutrients. When you put it in soil, after all that is where they grow naturally, the first week, keep it in a cup, so the soil is really wet, puddle like, then gradually as the weeks go by, decrease the water and just let the soil be moist.

That way, it eventually will resend out new dirt roots, and can feed itself accordingly.

Is rooting in the soil the best way for Plumeria?

Rooting in soil is the best way to get strong roots,

To get the best results, follow these simple steps:

  • Use healthy cuttings, preferably from newer growth. Take the cutting with a sharp knife or cutters. Although it depends on the cultivar, most cuttings should range from ten to fifteen inches.
  • Trim the cutting of all leaves. Leaves will cause the cutting to lose valuable moisture. If you’re using a rooting hormone apply immediately after taking the cutting.
  • Plant the cutting in your potting medium. Lightly tamp the mix around the stem of the cutting to provide support.
  • Water the soil well and place in a warm dry area. Most plumeria cuttings do well in full sun while they root. Cuttings thrive on warmth and humidity, but the potting soil should be well draining and kept dry after the first watering. A good rooting mix is 1 part potting soil mix with 1 part perlite. Misting the cutting is ok if you see signs of wrinkling.

When you see 3-4 new leaves and the new plant is established with healthy root growth. Transfer it to a new pot with fresh well-draining potting soil.

And that’s it! You can root most cultivars from cuttings, but if you find that you’re having a hard time with any particular cultivar, make sure you’re not overwatering.  For difficult to root plumeria cuttings, try a plant grow mat placed under the pots to encourage new root growth or try grafting.

Plumeria roots grow best when the root zone temperature is between 75 and 85 degrees.

Related Images:

Plumeria Care Regimen

I would like to share our vision of the best possible regiment, SO FAR, for our plumeria growing in South Florida. I hope the following helps you with your goals and plans for 2017.

The goal is to know what, when and why, so you can improve every year by giving your plumeria the best growing environment. Making a plan and documenting all adjustments will allow you to look back and hopefully determine where you can make improves.

Before the season starts we always examine what we did last year and try and determine how we can improve our methods and products. The following is an outline of what we’re planning for our 2017 Care Regiment at Florida Colors. Please keep in mind your growing environment and how it differs from South Florida Zone 10B. The start of your plan should correspond to when you are past the threat of a frost or freeze. You should also make a plan to protect you plumeria from cold weather, just in case you get caught.